Overview
This post provides step-by-step guidance on how to add a new post in Developer Portal.
Step 1
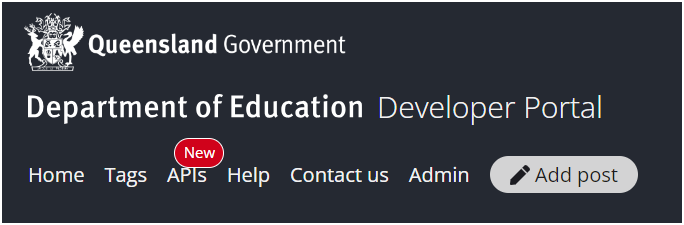
Go to navigation menu and click on ‘Add Post’.
Step 2
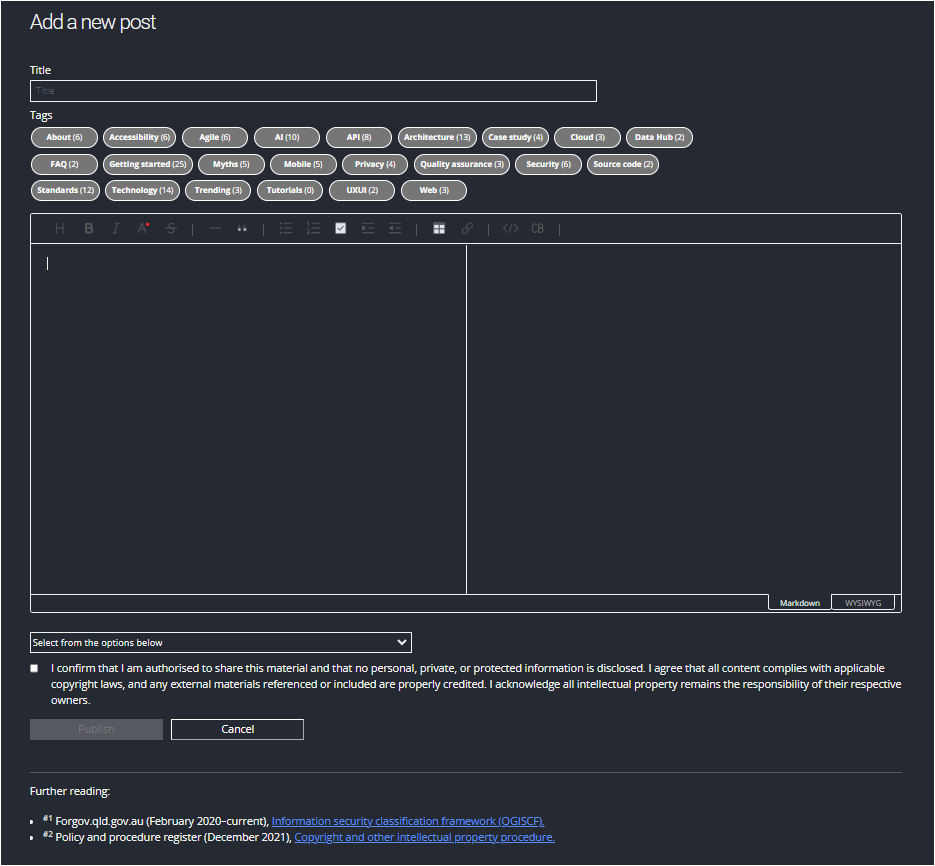
You will see a new page with an inline editor.
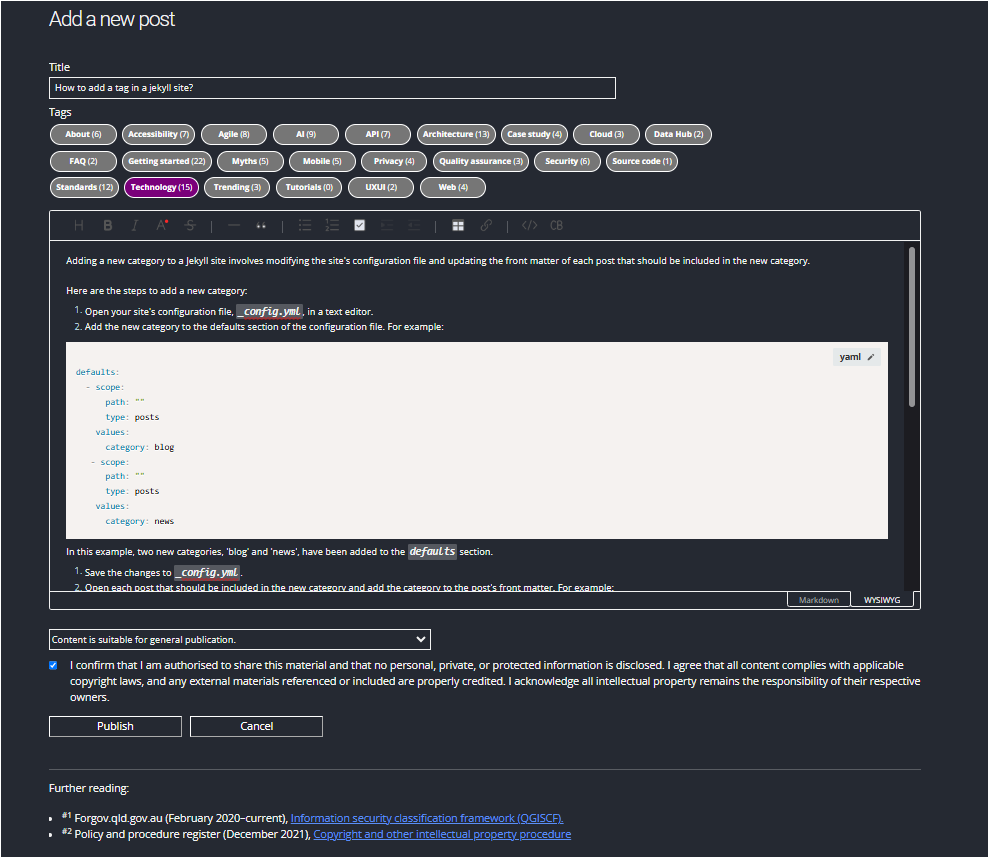
- Title
- This is the title of the post.
- Tags
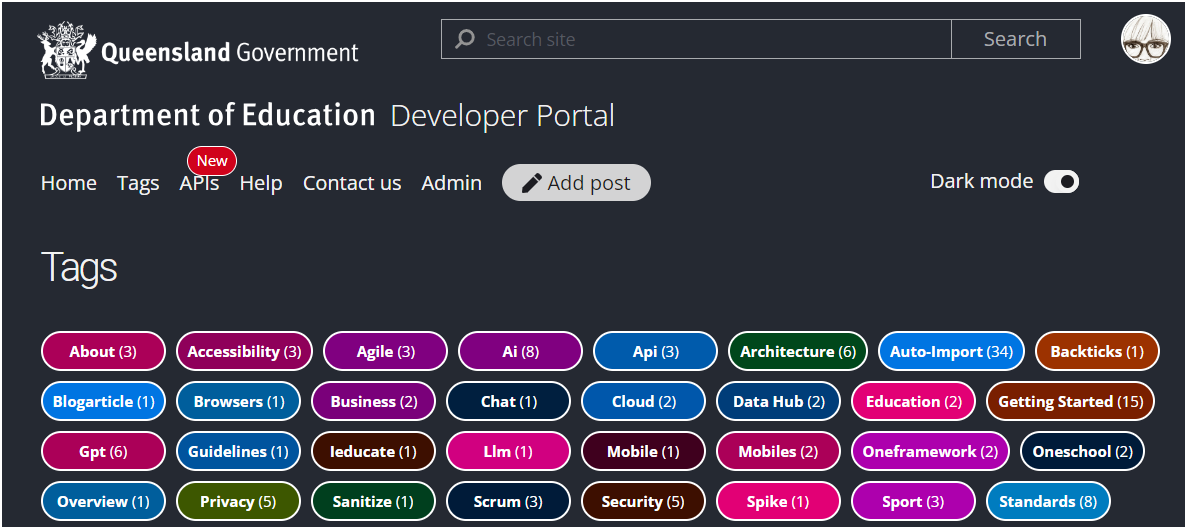
- You can add one or more tags from the pre-defined list that are relevant to your content.
- If you can’t find a tag relevant to your content, please contact the Developer Portal team.
- Content
- You can add your content in the editor, preferably in Markdown.
- Classification and copyright
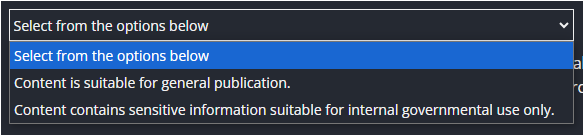
- You can select one of the options from the dropdown list to indicate whether the content is suitable for general public or whether it is suitable for internal government use only.
- You can tick the checkbox to indicate that the content does not contain any protected information and that it abides by the copyright laws.
- ** Further reading**
- If you require additional information on information security classification and copyright procedures of Queensland government, you can refer to the information in this section.
Step 3
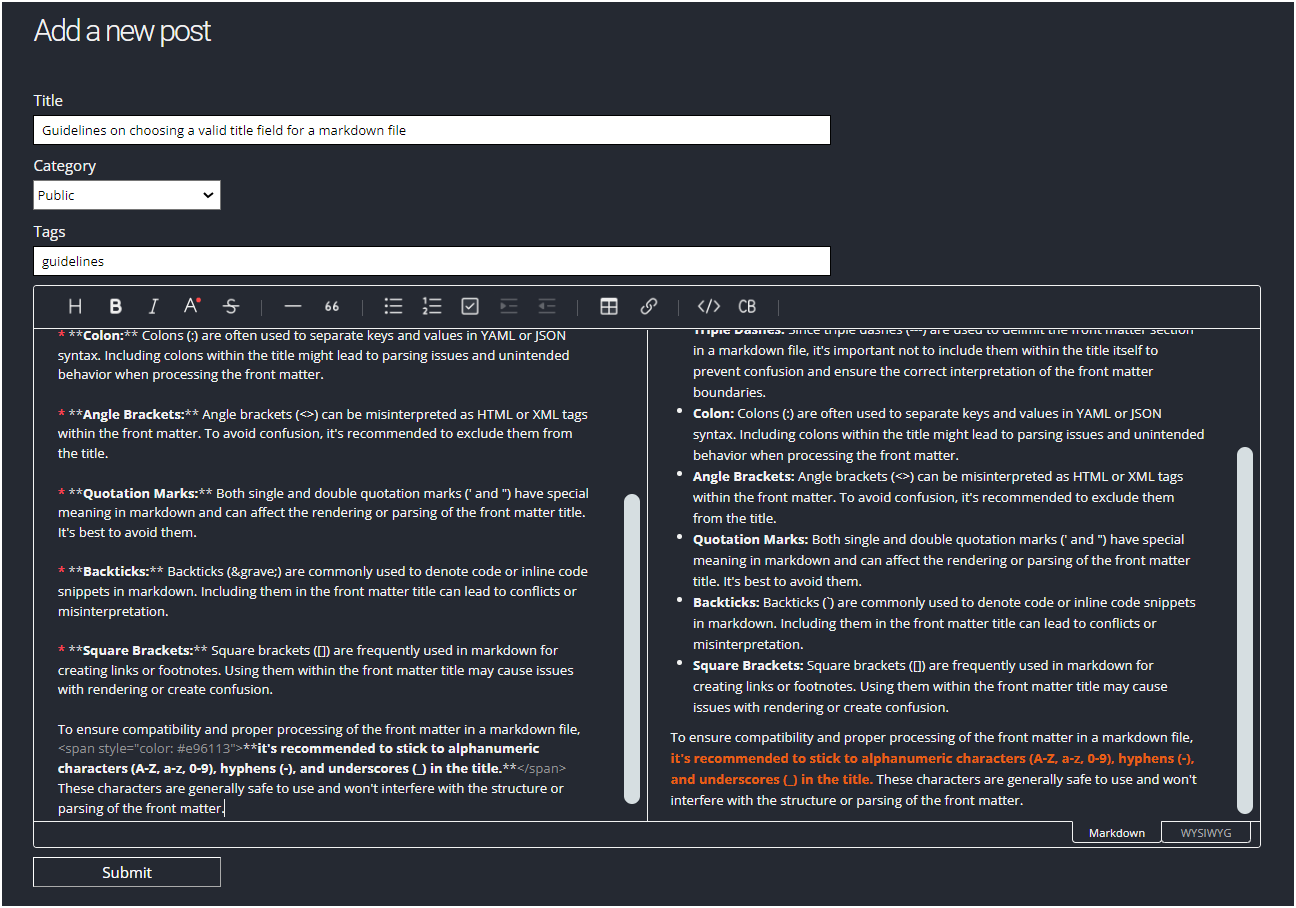
You can preview the post in the right-hand pane of the editor. Alternatively, you can also click on WYSIWYG pane of the editor.
Step 4
Click on the Submit button to submit the new post.
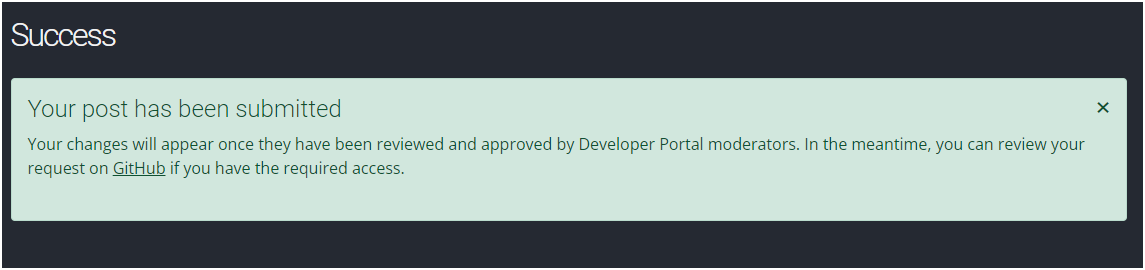
Step 5
Once the post has been successfully submitted, you will see a confirmation message with the pull request generated in the GitHub repository.
Step 6
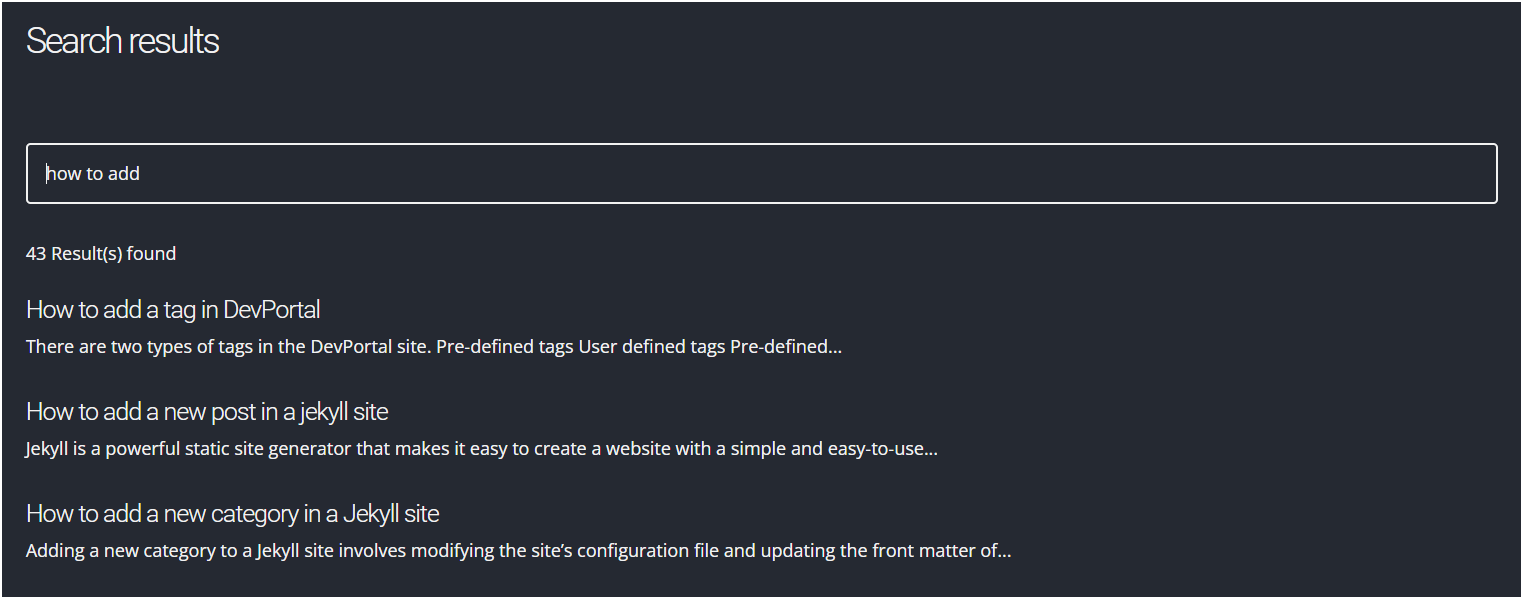
Once the moderator reviews and approves the content, it will be published in the Developer Portal site. You can then view your post by accessing it either from Home page or Tags page. You can also access the content from the Search page.